You Can Find Out How We Build Swimming Ponds For Clients In Kansas City, Missouri

How to build a natural swim pond starts with checking local building codes. Then you pick your spot, design, get materials, and start digging!
Discover the full process and more below-
What Exactly’s Going To Happen?
“That’s a great question that I don’t have an answer to,” admits Jennifer.
Michael nods slightly. “Well, we can find out how to build a natural swim pond together then. It’d be good to know what’ll be happening in our backyard.”
Jennifer smiles. “That sounds kind of fun. You think any local contractors have a blog post on their process?” Michael shrugs. “Now I’m the one that doesn’t have an answer for you. Here, let’s look it up on Google. Maybe we’ll find something good, like when we looked up swim pond costs.”
Here’s what the couple discovers:
Building A Natural Swim Pond In 21 Steps

- Check your local government codes
- Pick where you want your swim pond to be
- Verify and identify power and water needs
- Design your pond and get a material list
- Order materials and schedule labor and equipment
- Call for utility locations
- Mark site out before you start digging
- Excavate pond and wetland
- Identify where your external pump vault will sit and excavate (if you have groundwater coming into the excavation, consider installing an under drain system to alleviate the hydrostatic pressure)
- Install rock pad, liner, and another layer of rock pad
- In the wetland, install the centipede and snorkel system
- Layer the river rock on top of the centipedes by size. Larger washed river gravel goes on the bottom, then medium, and small on top. Layers should be at least 8 inches thick
- Start laying your boulders, saving your nicer stones for the top and the bottom of the pond. Backfill with clean river gravel as you build elevation
- Install sleeves as needed where you want to install lighting. Run plumbing and valves for the jet system to circulate lower water when the system is running
- Install intake bay and optional skimmer
- Do surface stone installation, picking out the nicest stones you set aside
- Plumbing work! Tie in pumps and run all pipes to your external pump vault and install pumps. Do not backfill any pipes yet
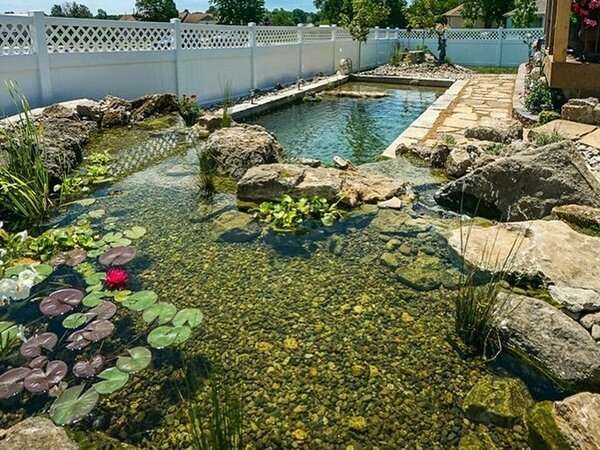
- Finish bottom of pond floor with smooth gravel or flagstone and boulders around the wetland and main waterfall from wetland to swim pond
- Fill wetland and pond with fresh water a couple of feet, rinsing the stones and gravel from all the sediment and dirt. Pump out and fill the entire system up
- Fire up the pumps! Check for leaks in the system
- Do all lighting wiring tie-ins and additional surface landscaping and plantings around wetland and pond. This is the time to install any auto-dosing systems and Ion-gens as well
You’ll Want To Know This!

Dose your pond with 2 to 3 times the recommended bacteria every other day for the first 2 weeks. Back off to 2 times a week for a month. Then, reduce the amount to the normal dose for the first year.
Plan on 8-12 weeks for the system to balance itself. Heavily treat your pond and don’t be alarmed when it discolors and gets slimy! It’s a natural part of the process and will get better as long as you stay on the treatments. The first year is the hardest.
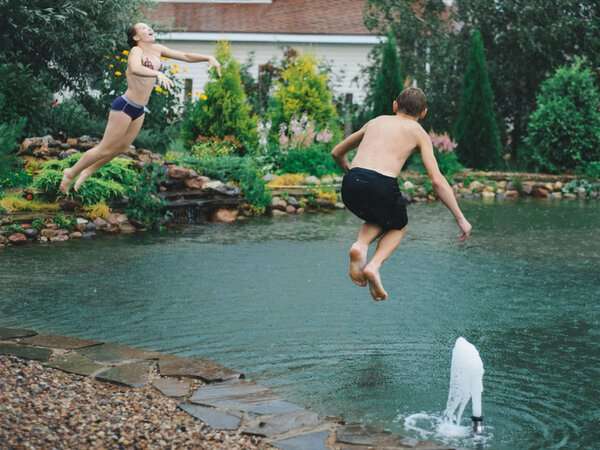
Now you can schedule your first pond party!
You May Also Like To Know
“I like how detailed this is! Makes me, I don’t know, comfortable in the knowledge this contractor knows what they’re doing,” says Jennifer. Mike smiles. “Then let’s see what else we can learn! Might make us even more comfortable.”


