Have you ever wanted a water feature in your backyard but didn’t want the responsibility of taking care of a fish pond or a pond in general? If yes, you would wish to have a pondless water feature to have the beauty of the water without the hassles of extra maintenance. If you ever wanted to know how to build a pondless waterfall and stream, then Gradex Company can help you build it.
What Is a Pondless Waterfall and Stream?
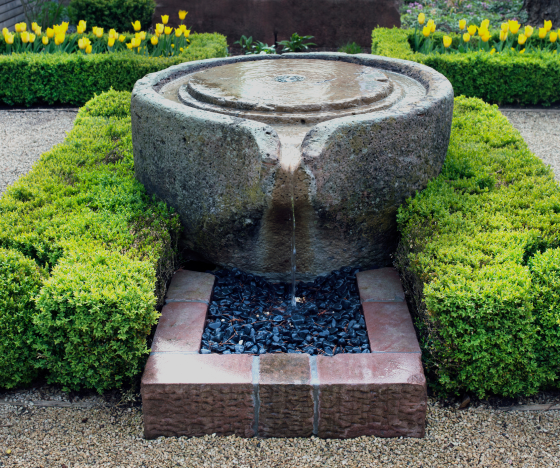
This pondless water feature is a waterfall and stream that doesn’t collect water at the end of a pond. All the water gets stored in a pump vault out of sight, preserving the beauty. It can even hide in a bush.
Since there is no pond, less maintenance is required, and it doesn’t need cleaning as much. Also, there are no fish or other aquatic animals to worry about keeping alive. The most maintenance you’ll do is clearing away some debris from the surface once in a while.
If you want water with less to worry about, a pondless feature is what you want to build. How is this all built, though?
Step 1: Select a Location and Draw It Out
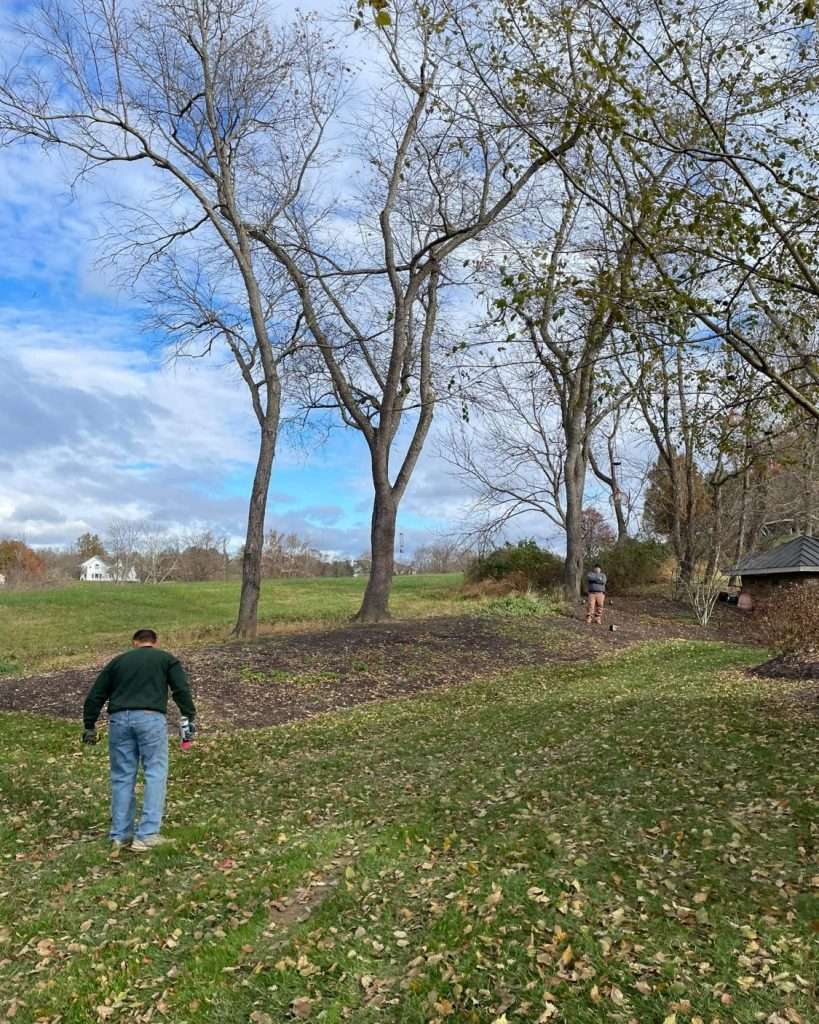
You want to pick a spot with a good foundation that is easy to dig and a slope. You don’t need the hill to have a vast incline, but you want an angle so the water can flow naturally from a high elevation point to a low elevation point.
It would be best to map your path out after you have a spot you like and where it will be easy to build. Draw your stream out on the ground and label where you want each waterfall and curve and how long you want it to run in its actual size.
You also want to determine where you want the tank and filter located, usually at the end of the stream. The route of the pipes also needs consideration. Where you want the direction of the water flow needs planning here, so consider the incline as well.
Step 2: Order the Kit and Stones
If you’re wondering how to build a pondless waterfall and stream, you should invest in the essential kit, materials, and tools. You will need the boulders and gravel, pond liners, access to water, pumps and filters, primer, cement, underlying fabric, and waterfall foam sealant or silicone sealant.
Some tools to consider having handy while doing this job are rubber mallets, spades, utility knives, and a wheelbarrow. You can also use a scissor to trim the liner near the end, and you will need shovels for digging.
You do not want to use stainless steel because the metal can rust in and near the water. Choose river stones and boulders.
Step 3: Start to Dig
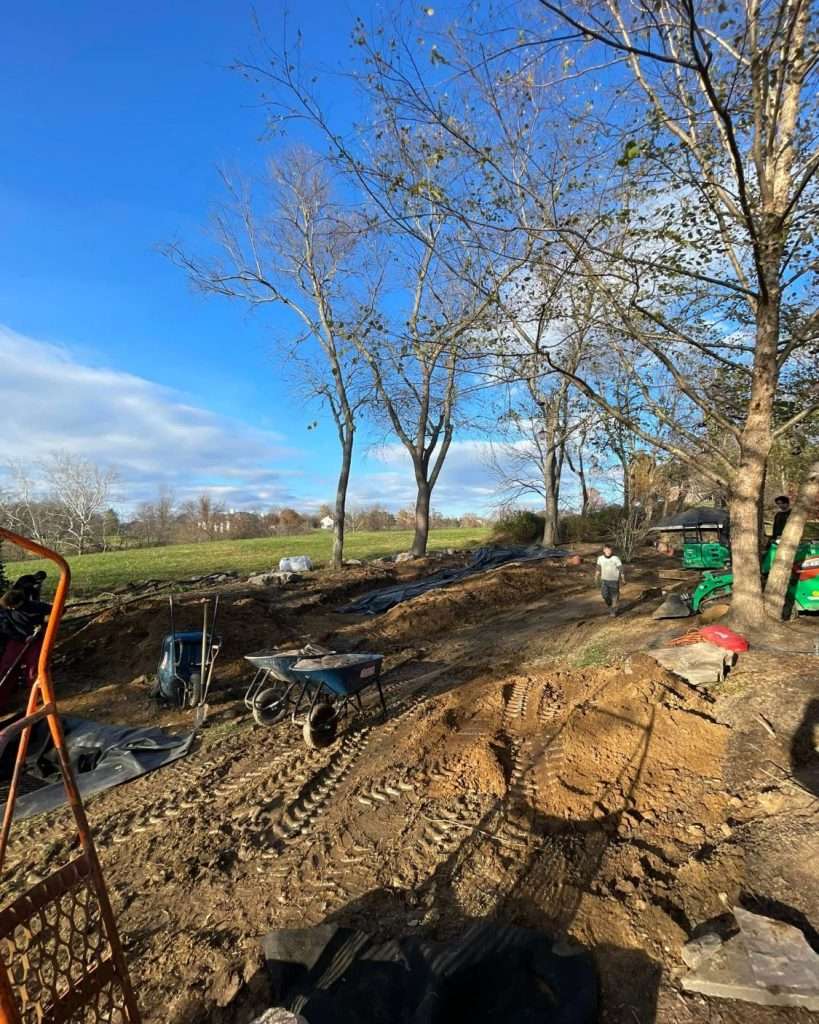
Now it’s time to dig your stream where you mapped it out. Remember, you want to dig a foot wider for space to place the stones and six inches deeper for the liners and underlying rocks to fit. Don’t forget where you want the waterfalls placed and build them up here.
The higher the waterfall, the more noise it produces. If you don’t want a lot of noise from the waterfalls, two to four inches is a good height. If you wish to drown out street noise, ten inches is best.
Step 4: Place the Pumps, Pipes, and Filters, Then Line It
Place the pumps, basins, and filters in the holes you dug after priming them with cement. Connect the pipes during this process as well. If you decide to place your pump hidden in a bush, put it there now.
After installing the pumps in the holes, line them with layers of stone gravel. You don’t have to worry about anything else if you keep it hidden.
Step 5: Spread the Liner for the Stream
Place the liner and underlaying fabric loosely. Placing stones on a tight liner will rip the material. You want to cover everything with the liner, so don’t miss a spot.
Step 6: Add the Stones
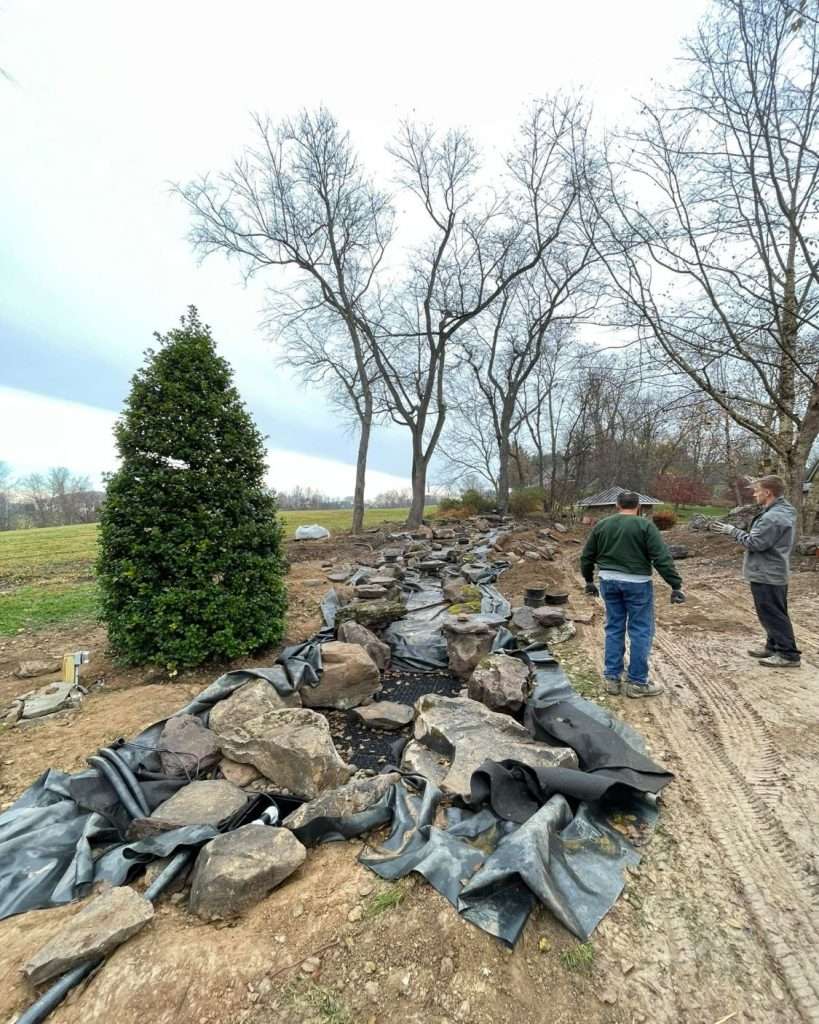
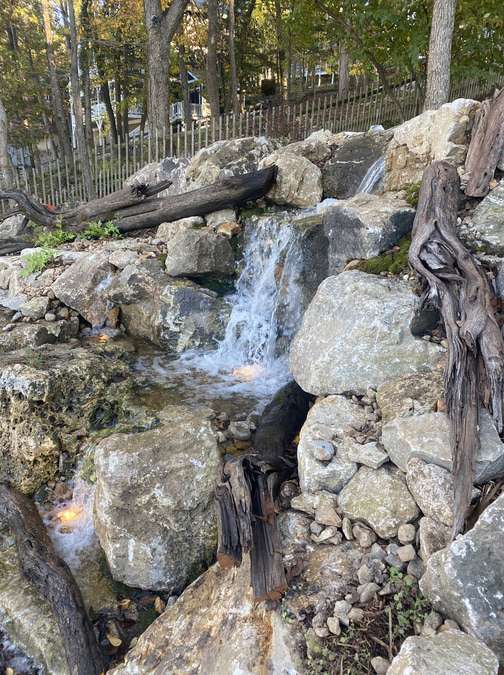
Now it’s time to place the stones, decorative boulders, and aquatic plant options. Place them at the edge of the stream first before placing the layers of gravel inside. Take a moment to look at the stonework and see if you are satisfied with its appearance.
Don’t forget the stones for building your waterfalls. You want to layer them so the water will fall instead of just flowing downstream.
Step 7: Fill in the Gaps with Sealant
Once you place all the stones, build the waterfalls, and get everything situated in a way you like, it is time for the foam sealant. Apply the adhesive to all sides of the stones. After 30 minutes, when the foam or silicone sealant has dried, run your hose over your waterfall and stream.
If you notice any water leaks, fill the leaks with more sealant. Repeat this process until all the leaks disappear.
Step 8: Trim Any Excess Liner
Any visible excess liner needs trimming. Trim the rubber liner with scissors and cover any trim that is still visible with more stones. You do not want to cut too much and ruin everything you just built, so it’s best to trim a little and cover the rest.
Step 9: Now You Add Water

Now you use your hose again to add the water to the appropriate water level.
Step 10: Turn Your Pump on and Enjoy Your New Water Feature
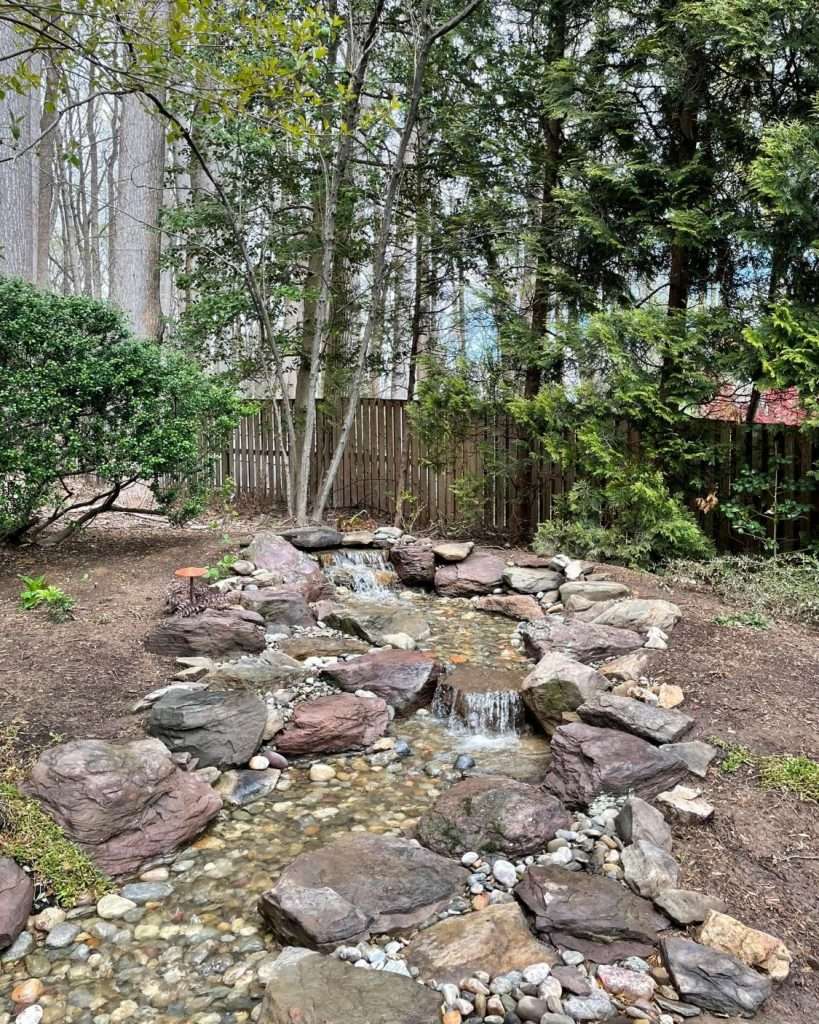
After turning on your pump to get the water flow moving, enjoy your new pondless waterfall and stream any time you want.
You Can Build a Pondless Waterfall with Stream in Your Backyard
The step-by-step guide on how to build a pondless waterfall and stream in your backyard can sound overwhelming, but you don’t have to do it alone. Our experts at Gradex Company can assist and guide you to your perfect pondless water feature. Don’t wait for confusion to take over; fill out our contact form now to work with professionals today!